Choosing and Sharpening a Survival Knife for Your Go Bag

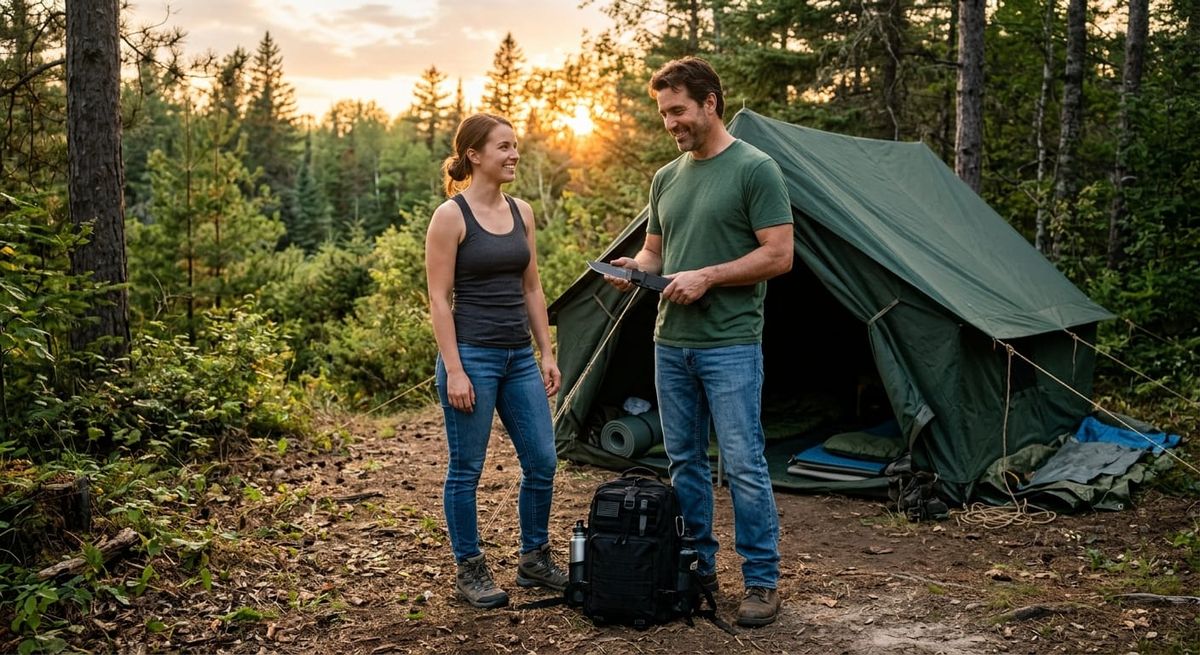
A survival knife earns its place in a go bag by what it does on a bad day—not how it looks online. It cuts cord, makes kindling, opens packages, prepares food, and handles the small camp jobs that turn into big problems when you do not have a tool you trust.
This guide covers how to choose one, what to skip, and how to keep the edge working when you are away from a workbench.
Fixed blade vs folder
For a real go bag or truck kit, prefer a full-tang fixed blade. The steel runs through the handle, so the knife holds up better under hard use.
A folding knife is excellent for everyday carry and light tasks. It is a weak primary survival knife: pivots and locks are extra failure points when you are tired, cold, or working wood.
Practical setup: one solid fixed blade in the kit, and a folder in your pocket if you want daily convenience.
Blade length and shape
Four to six inches of blade is the useful range for most people.
- Shorter blades are easier to control and pack.
- Longer blades add leverage but add bulk, weight, and sometimes legal friction when you travel.
A drop point is the best all-around shape: strong tip, useful belly for slicing, and predictable control. Fancy tactical profiles rarely outperform a simple drop point for camp work.
Choose a simple grind (flat or high flat). It sharpens more honestly in the field than complex hollows and recurves.
Tang, handle, and sheath
Full tang matters. Avoid hollow-handle “survival kits” sold with matches in the grip. They look clever and fail the job.
The handle should stay secure when wet or when you are wearing gloves. Micarta, G10, and solid rubberized scales beat smooth polished wood in the rain.
The sheath is half the system. Shake-test it. If the knife can fall out when the bag is inverted, the sheath is wrong. Look for real retention, a way to attach to belt or pack, and a design that does not dump water into a sealed pocket with no drainage.
Steel without the marketing fog
You do not need exotic super-steel.
What you need:
- Tough enough not to chip the first time it meets wood
- Easy enough to sharpen with a basic stone or rod
- Corrosion resistance that matches your climate (or a habit of oiling carbon steel)
Carbon steels often sharpen easily and take a keen edge; they need a wipe of oil. Stainless options need less rust care and still work fine if the heat treat is honest. Coatings help against corrosion; they wear off at the edge, which is normal.
What not to buy for the bag
- Giant “movie” blades as your only knife
- Saw backs that wreck sheaths and skin
- Gimmick hollow handles
- A glass breaker or seat-belt cutter as the reason for the knife—buy those as separate vehicle tools if you want them
A mid-size working knife beats a display piece every time.
Legal and transport reality
Knife rules vary by place: blade length, fixed vs folder, open carry vs packed gear, and where you are standing. For preparedness, stage the knife in the bag or case, know your state rules, and treat it like any other serious tool—documented, controlled, and not left loose on a seat.
Sharpening: field techniques that actually work
A dull knife is more dangerous than a sharp one because you push harder and lose control. You do not need a workshop. You need a small system and a little patience.
What to pack with the knife
- A compact sharpener: small diamond plate, ceramic rod, or a quality pocket stone
- A leather strop or clean leather belt scrap (optional but excellent)
- Light oil for carbon steel after wet work
If the sharpener is still in the garage, it is not part of the kit.
The core idea
You are restoring a bevel, not grinding the knife into a spike.
- Keep a consistent angle (most utility knives live around a moderate working angle—follow the existing bevel).
- Work both sides evenly.
- Deburr, then refine.
- Stop when it slices cleanly—do not chase a mirror finish in the dirt.
Technique 1: Pocket stone or diamond plate
- Secure the stone (on a pack lid, log, or your kit’s flat surface).
- Place the blade on the stone and match the factory bevel angle.
- Push or stroke edge-leading or edge-trailing—pick one method and stay consistent. Many people prefer edge-trailing on coarse diamonds to reduce dig-in.
- Count strokes, then do the same number on the other side.
- Move from coarse to fine if you have two sides or two stones.
- Test carefully on paper or a clean shaving of wood—not on your thumb in the dark.
Why it works: You control the angle and remove metal in a predictable way. Diamond plates cut fast even when the stone is wet or cold.
Technique 2: Ceramic or diamond rod (steeling / touch-up)
Rods are for maintenance, not rebuilding a neglected edge.
- Hold the rod tip-up or braced firmly.
- Alternate light strokes each side, matching the bevel.
- Use light pressure—let the abrasive work.
- Finish with a few gentle passes.
Why it works: Between jobs, you realign and refresh a working edge without removing a lot of steel. Ideal after food prep or cord cutting.
Technique 3: Stropping (leather)
After stones or rods, pull the edge spine-first across leather charged with a bit of compound—or clean leather in a pinch.
- Alternate sides.
- Light pressure only.
- Stop when the edge feels “grabby” on paper rather than slippery.
Why it works: Stropping removes the last burr and polishes the edge. It is the difference between “sort of sharp” and “ready to work.”
Field problems and fixes
| Problem | Likely cause | Fix |
|---|---|---|
| Edge slides on rope | Burr or too dull | Coarse strokes, then refine; check both sides |
| Edge chips | Too steep angle abuse or brittle steel | Stone back to a clean bevel; avoid prying |
| Rust freckles | Carbon steel + moisture | Wipe dry, light oil, store out of wet sheath overnight when possible |
| Knife feels thick behind the edge | Years of bad sharpening | Slow reprofile on a coarser stone—patience, not force |
What not to do
- Do not sharpen on concrete “because it works”—you dig random angles and ruin the bevel.
- Do not use a grinding wheel from a garage bench as your field method—easy to overheat and wreck temper.
- Do not pry cans, dig holes, or baton oversized wood with a light knife. The knife is a cutter, not a crowbar.
- Do not leave a wet carbon blade sealed in a soaked leather sheath for days.
A simple maintenance rhythm
Before packing the bag
Edge test, wipe, oil if carbon, confirm sheath retention.
After field use
Clean sap and grit, touch up with rod or stone, dry completely.
Seasonal kit inspection
Same day you check flashlights and batteries: knife, sharpener, and sheath hardware.
Track it like any other essential: where it lives, when it was inspected, and whether the sharpener is still in the same bag.
Pair the knife with the rest of the system
A knife without:
- cordage
- a way to make fire
- light
- water plan
…is only one piece of preparedness. Put the knife in the Go Bag checklist beside power banks, documents, and first aid—not in a drawer “somewhere.”
Bottom line
Choose a mid-size full-tang drop point in honest steel, with a sheath that passes a shake test. Pack a small sharpener next to it. Learn one stone method and one rod touch-up until you can do them without thinking.
Sharp, simple, and present when you need it beats expensive and dull at home.
Preparedness is mostly boring discipline: inspect, rotate, practice. A knife is no different from water, light, or a first aid kit—if it is not staged and maintained, it does not count.